Online Jewelry Training Classes for Metalsmiths


Using rivets is a popular way of joining metal together without using heat. That is referred too as a cold connection technique.
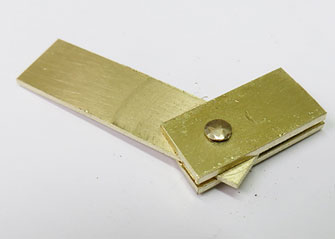
The metal can be riveted to allow movement, such as hinges or in a fixed manner.
Holes are drilled in the aligned metal sections. Then a wire with a snug fit, not too tight and not too loose, is fitted through the hole and peened over.
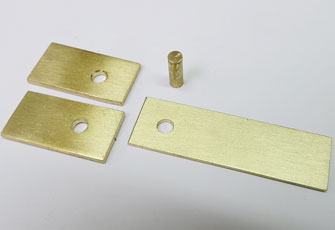

These are demonstration components.
I made them a bit bigger for clarity.
I start with a center rod, cut longer than needed.
The longer piece will be the middle and the short pieces will be the sides.
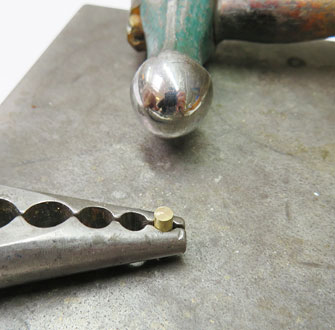

It is easier to peen the one side of the hinge pin over before it is inserted.
I use a ball shaped hammer that has been polished so as to transfer that polished surface to the pin.
The trick is to tap the edges of the pin in a circular motion round and round softly.
The operative word is softly, because if too much force is used, especially with a thin pin, it will bend and then a new one has to be made.
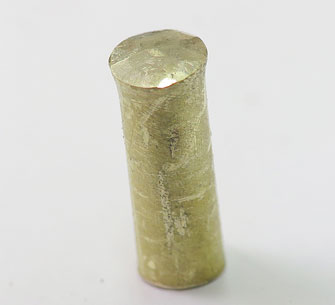

The pin with one side peened over and the top flared wider on one end.
The pin thickness is determined by the two metal sheets that you put together.
If you pin two 3mm thick pieces together the pin will be thicker in relation too two half millimeter plates.
Normally 1mm wire or bigger, is the most popular size for the pin wire.
The pin must slide comfortably in the hole. Not too tight and not too loose.
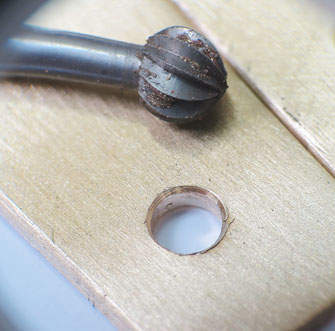

Both outer holes of the short sides are counter sunk.
I use a ball frazer for this.
This is where the flare of the pin will fit is and lock the pin in place.


Here the pin has been pushed into the first side.


When all three plates are together, the length of the pin can be measured.
I leave it about 0.5 mm longer in this demonstration.
I have a free tutorial on how to make a rivet helper.


Once the pin is cut to length, it is ready to be peened over.

Again, careful and soft hammering around the edges produces a neat shiny rivet head.

)
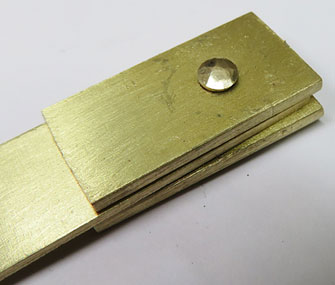
The rivet stands proud from the background surface at this stage.
This is sometimes the desired look, depending on the design of the piece.

While the rivet, or hinge pin is being peened over, care must be taken not to over tighten the components.
A bit of tapping, check for movement, then some more tapping, until the rivet head is round and there is a smooth movement of the metal sheets.


Sometimes the design calls for a smooth surface, and here the counter sinking come into play.
The rivet head is filed down to the back ground level.
Here I am sanding the side down with my 220 grit buff stick and a rivet circle can still be clearly seen.
This is some times needed, because it makes the rivet location easy to identify, should the rivet need to be replaced.


Here I have sanded the rivet to the background level and the rivet merges with the background surface and becomes virtually invisible.


The metal plates riveted together.
Click the link to receive your free PDF version on How To Rivet which will be emailed to you within 4 - 12 hours.
or select other projects from Jewelry Making Tutorials List
If you have any questions or wish to be notified of any new tutorials that are posted, email me.
This content is the intellectual property of Hans Meevis. More information on our Copyright and Privacy Policy


