Online Jewelry Training Classes for Metalsmiths


Wax carving has it's application, but in some cases you want one shape to fit into another, which is where polymer clay comes in handy.
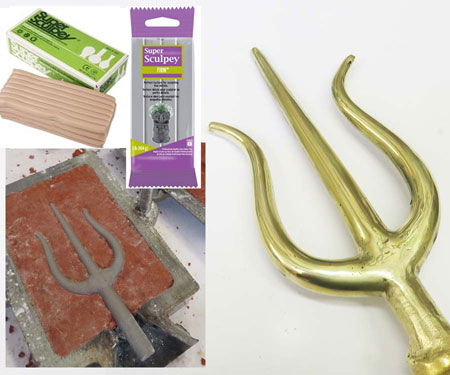
Polymer clay such as Sculpey is the fastest method of making an unusual shape and then casting it into metal taking only two hours or so. That makes it very versatile.
The finish of the metal cast is a bit rough requiring some finishing off.
To me, this is just another tool in my tool kit, that has useful applications in certain situations.

Polymer clay is a cheap plasticine like material that is soft at room temperature, but becomes hard like plastic after it is heated to about 130 Celsius for 10 minutes.
Google sculpey or polymer clay for a supplier near you.
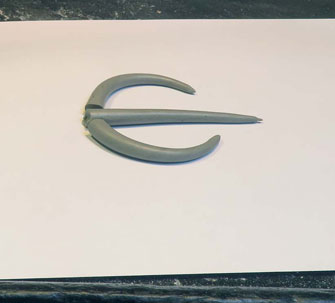
First, I shape the material to the form I want. In this case it is a trident like shape that will be the mouth parts of a new metal sculpture I have started.

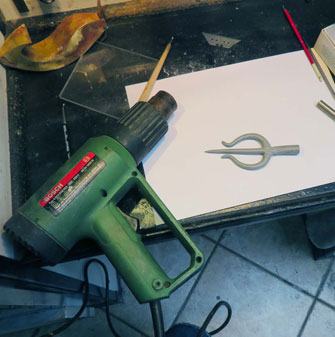
The clay can be put in the oven or a heat air gun can be used to bring it up to temperature for hardening.

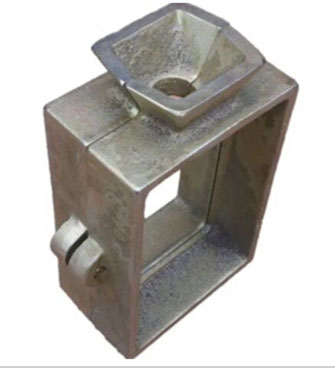
This casting flask is available at
Amazon.com
Search the term “Cast Iron Flask Mold Frame”
or
“Casting Flask Iron Mold Delft Sand”

At the time of posting, this flask mold, similar to the one I use, is on
Ebay.com
I fitted mine with screws.

Now I use Delft clay, which is just a fancy name for sand casting.
The sand is compacted and a two part mold is made. I have a free tutorial here.
At first, I thought the hardened clay would break under the stress of making a sand mold, but it held up just fine.

The second part of the mold is placed on top secured with screws and the casting sand packed over it.

When the two are separated, the polymer model is removed and the mold is re-assembled.
The imprint in the sand stays in place because the sand has a dough-like texture.

The re-assembled mold showing the hole where the molten metal will be cast into.

After melting the correct amount of metal, it is poured into the mold.
In this case I am casting cartridge brass.

The molten metal has solidified in the space left by the poly clay former.

The cast always has flashing and a rough surface so I file it all smooth.

The nice thing that I like about this forming material, is that it can be formed to fit any weird shape.

After casting, I use a hack saw to trim everything down.
Then I file it smooth.

Ready for further work.
Click the link to receive your free PDF version on Sand Casting Polymer Clay which will be emailed to you within 4 - 12 hours.
or select other projects from Jewelry Making Tutorials List
If you have any questions or wish to be notified of any new tutorials that are posted, email me.
This content is the intellectual property of Hans Meevis. More information on our Copyright and Privacy Policy